Mixing/Mastering – Song 5

Track 5 – Volumes, Panning and Plugins

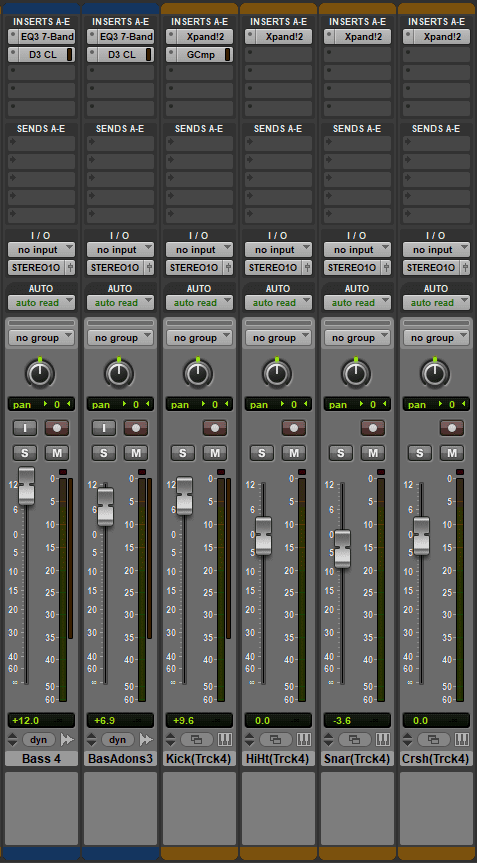
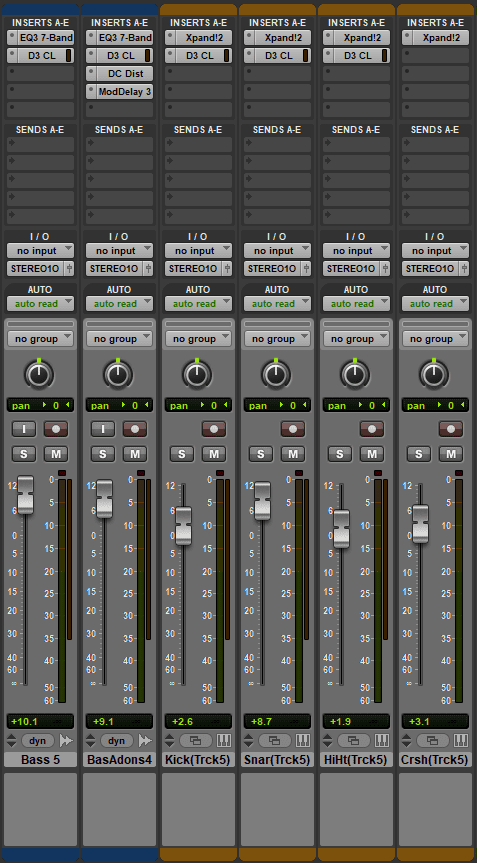
Song 5 was another muddy rock/metal song that I really wanted to mix and master well, in order to produce a song that was not only thorough in its use of plugins in the mastering stage, but also rough and loud, producing an in-your-face kind of feeling that was unique to this song. To do that, I raised the volume of every single track without the tracks peaking into the red, as I knew that I needed about “6dB of headroom right across the board” (according to soundonsound.com) so I could have some extra volume free for after I added the EQ, compression, distortion and delay. This way I was able to not only make the bass guitar parts a priority in this song according to my original aims, but it allowed the drums to become more than just keeping rhythm. Thanks to the volume boosting in the mixing process, the drums became an even more integral part of the song, being not only there to keep rhythm but also to provide the track with life, thanks to the variety of uses of the hi-hat, crash cymbal, kick and snare within the track.

The drum sections, except for the crash, all got compressors which suited the style of the song. The compressor on the kick trimmed off the louder and higher frequencies, producing a rougher, muddier kind of kick which was perfect for the song. The same could also be said for the snare, which also had the louder and higher frequencies reduced, giving it less of a defined hit but just enough so it could still be heard. The hi-hat benefited as it was a rather quiet sound in general, and the compressor placed on that allowed it to be made louder thanks to the reduction in the dynamic range, bringing more of a metallic sound to the drum kit (which was perfect as it added to the already metallic-sounding kick and snare). The mastering on the drums was absolutely what I wanted to make because of the fact it sounded so rough and imperfect. In my mind, it sounded like the drum kit tracks had been recorded in a garage one day, and the slightly metallic sounds produced from that suited the songs overall feel perfectly.

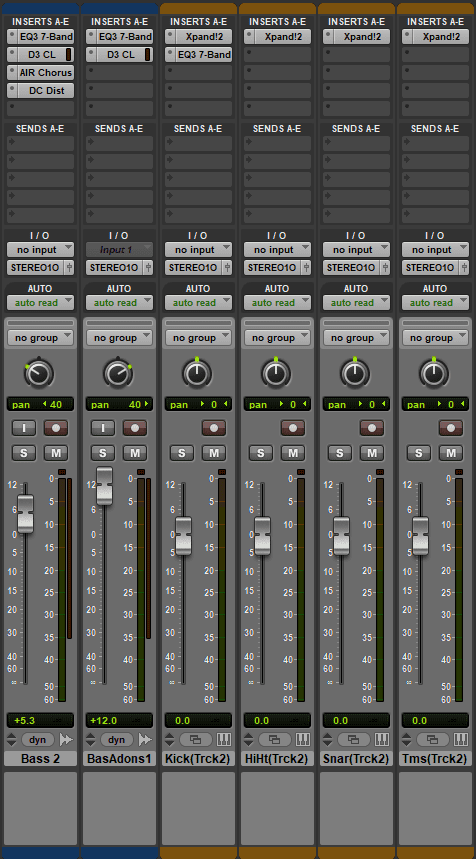
When it came to the bass parts, the usage of the EQ and compressors was almost identical to the mastering on Songs 3 and 4 simply because it made the lower frequencies much louder thanks to the reduction in the EQ as well as raising the mid-to-high frequencies, which then made a bigger change when the compressor was applied. The bass guitar that was not distorted needed to be kept relatively crisp so it could support the lead, and the constant hum of that bass helped the track to feel more muddy than usual, thanks to the constant invasion of sound at that frequency. This was an intended effect because, as described with the drums, I wanted the song to sound like a muddy and rough rock/metal song written in a garage or a shed, as well as have that in-your-face feeling which none of the other songs had.

Meanwhile, the lead bass also included a distortion plugin and a delay plugin to push that feeling even further. The distortion, similar to Songs 3 and 4, gave the lead bass guitar a fuzzy lead guitar-like sound, while the delay was there to add more noise to the track through its echo-like quality. I chose to use these plugins in this way because I felt that making a ‘wetter’ sound (where you could hear the effects of reverb/delay plugins clearly, as compared to a ‘dry’ sound, where there are no audible effects) would produce more noise, which would not only make the song sound muddier, but also mean that there would be more sounds to listen to, thus enhancing the in-your-face feeling I desired to create in the song.

The song, prior to the mixing/mastering stage, sounded like this:

The final song now sounds like this:

Mixing/Mastering – Song 4

Track 4 – Volumes, Panning and Plugins

Song 4, similarly to Song 1, was relatively brief when it came to the mixing and mastering processes. I used the frequently used method of boosting the bass guitar tracks, but this time I also boosted the kick drum a lot while reducing the snare slightly. While I wanted the bass guitar to be the focal point for the song thanks to its melody, the kick drum needed to be heard to help keep the rhythm (it was a lot softer than usual thanks to the reduced velocity on the sequenced notes, which was also why I raised the volume on the kick so much). The snare, on the other hand, was too loud for my liking, and a reduction in the volume helped to make the song sound less harsh.

The mastering process was quite short as I only really needed to put a compressor on the kick drum, and an EQ and a compressor on the bass tracks. The kick drum used the compressor to gain a bit more of a thump from the lower frequencies, which also reduced the higher frequencies and made it sound less harsh to listen to, which was the effect I had intended for this song.

The bass guitars used the same EQ and compressor modifications because it allowed the tracks to produce a nice warm sound (quite loud in the lower frequencies without being too loud in the higher ones, producing a sound that is quite comfortable to listen to), which was exactly the kind of sound I wanted for the song. This was produced by using the same method I used on Song 3 – I reduced the lower frequencies and raised the higher ones in the EQ, which made the lower frequencies sound louder and reduced the higher frequencies when the compression was applied. I wanted to make this sort of sound because I wanted the song itself to be quite calming and comfortable to listen to, which is the embodiment of what a warm sound is, and I believe it worked really well.

The song, prior to the mixing/mastering stage, sounded like this:

The final song now sounds like this:

Mixing/Mastering – Song 3

Track 3 – Volumes, Panning and Plugins

This song was both easy to mix and quite complicated to master, which made the song sound better when it was finished. In regards to the mixing part, the 3 bass guitar tracks were all raised in volume, similar to the last 2 songs, in order to keep emphasis on them while the drum maintained rhythm behind it.

All three of the bass guitar tracks (the main bass track, the add-on track, and the add-on track for the solo part) included the same EQ and compressor changes, while the two bass add-on tracks included distortion and the solo add-on track included a delay plugin. In regards to the EQ, I chose to lower the frequencies at around 50 Hz, with slight raises at around 1 kHz and 3.50 kHz to help make the bass sound cleaner and crisper, and the compression reduced the dynamic range, increasing the overall volume of the bass. This may sound counter-intuitive, as reducing the dynamic frequency between the higher and lower frequencies makes the lower ones sound just as loud as the higher ones, but this worked really well for the main bass guitar track because it helped to keep it crisp and clear while maintaining its deeper tone, producing a professional-sounding bass guitar sound.

For the add-on tracks, the distortion was used in a similar manner to how it was used on the second song. In this case, I chose to use the distortion to increase the treble (higher frequencies) while keeping the lower bass frequencies low, creating a distorted guitar-like sound that was not as muddy as the sound on the second song. I chose to create it this way because the song was a more of a jazz-rock song, and a muddy sounding guitar track would have not fitted the mood of the song at all. This way, I was able to create a lead guitar section from a bass guitar recording that could play the melody and the solo without hindering the bass guitar riffs.

The solo track was the only track to use delay in this song, which was more of a personal artistic choice. The delay plugin, as the name suggests, takes a sound which can be played back at a later time, and the effect it has is similar to an echo that fades out over time. In this case, the effect was a decaying echo that played back the sound every bar, adding a bit of noise to the solo and helping it to stand out. I wanted this effect on the solo track because it added a bit more flavour to the song, helping to keep it interesting as it flowed through the solo.

The drums also got some attention in the mastering stage too, with the kick drum getting a compressor to give it a bit of thump, while the toms needed one too in order to make the strikes sound louder, thanks to the boosting of the bass frequencies. In addition, the kick drum also received some EQ modifications, raising the frequencies around 5 kHz which, when coupled with the compressor, helped to give the kick drum the thump I was looking for. These edits for the kick drum and toms worked well because it added more variety in the frequency range, covering a wider range of frequency which helped the song sound fresh, smooth and exciting, like a jazz-rock song should be.

The song, prior to the mixing/mastering stage, sounded like this:

The final song now sounds like this:

Mixing/Mastering – Song 2

Track 2 – Volumes, Panning and Plugins

Much like the first song, the mixing in this one was quite easy to do. I chose to pan the lead bass guitar (the distorted one) to the left with the supporting bass guitar panning to the right to help the listener to hear the two tracks, and because otherwise the cleaner, crisper bass guitar track would have been lost in the mix. This way, I was able to do the mixing and mastering needed to produce a properly grunge-like song.

With the grunge theme for the song, it was only obvious to raise the volumes for the bass guitar parts higher than the drums (which I kept at the default volume level) because they would take the majority of the attention with their melodies, riffs and solos, while the drums were simply there to keep rhythm. This change of volume was also done because the bass guitar tracks were recorded rather quietly and needed that boost in volume to be relatively close in volume to the drums (This was also improved upon further in the mastering stage).

The majority of the mastering was focused on the two bass guitar tracks. The main bass guitar track (Bass 2 on the image above) actually started with an equalizer plugin that reduced the 0-100 Hz frequencies, raising the middle frequencies at 1000 Hz and even lifting the frequencies slightly at around 3 kHz. After the EQ, I applied a compressor to reduce the dynamic range between the higher and lower frequencies, and then boosted the gain (input volume) on the compressor plugin to help make the overall sound louder. This was then followed by the AIR Chorus plugin, which took the sound and applied the chorus effect to it. The chorus effect (as described here) is where sounds of similar pitches and volume play at approximately the same time and sound like one sound, and the plugin also allows for many frequencies and sounds to be played at once without boosting the volume of the track. After this, I applied a DC Distortion plugin, which took the sound and amplified it to give it the fuzzy grunge-y guitar sound I hoped for. These changes were done because I aimed at creating a more guitar-like sound which could be suitable for playing riffs as well as a solo. While it would have been easier to just use a guitar and get the sound I wanted, it would not have been meeting my original aim because I wanted each song to have a focus on the bass guitar, and bringing in a guitar would have ruined that.

In regards to the second bass guitar track (Bass Addons 1 on the image), I did the same thing with the EQ and the compressor as I did with the first, producing a much cleaner and crisper bass guitar sound to accompany the fuzzy lead, thus giving the illusion of a guitar and bass guitar combo in the process. I knew this would help immensely because the distorted lead bass guitar was so muddy that, if it was on its own or if the supporting bass was too quiet, it would have not had a supporting riff to help it while it did the solo part, thus making the song feel weaker as a result. With the help of a clean bass guitar playing the riffs on the verses and solo, as well as the chords on the chorus, it helped the song feel a bit more full and covered a larger part of the dynamic range, making the song sound a bit more pleasant to listen to.

The song, prior to the mixing/mastering stage, sounded like this:

The final song now sounds like this:

Mixing/Mastering – Song 1

Track 1 – Volumes, Panning and Plugins

The mixing for the first song was very simple, much like the song itself. I boosted the overall volume for the bass guitar and the synth in order to make those the focal point of the track, pushing the bassy and synthesized riffs over the drums while maintaining a decent volume level for the drum kit, so as not to lose it in the mix. I opted not to use any panning in the songs because I felt like moving any of the instruments to the left or right speaker/headphone was not completely necessary, and would not have made the track feel any different or improve it in any way. Most of the improvements came through the mastering process.

When it came to mastering the track, I felt it was important to compress the bass guitar, kick and snare, and apply an Equalizer (EQ) on the drum kit tracks to get the correct sound. For the bass guitar, I applied quite a hard compression limit, which boosted the lower frequencies while simultaneously reducing the dynamic range between the lower and higher frequencies, essentially making the sounds with lower pitches match the volume of the sounds with higher pitches. As a result, the bass guitar’s volume increased thanks to this compression, which is good as I wanted a nice, clear sound for my bass guitar to lead the way through the song.

I also applied compressors to the kick and snare drum, although the compression on those were much lighter. The one I placed on the kick drum allowed it to sound a little deeper, giving it a bit of a thump-y sound which suited the song and made the kick audible without being too loud, while the snare had a very light reduction to its dynamic range, which subtly reduced the volume of the strikes due to the slight reduction in the higher frequencies volume. Both of these were changes that I felt were necessary for the song, because the kick needed a bit more ‘kick’ to it while the snare needed that slight dynamic range reduction in the higher frequencies to help emphasize its strikes a little more and sound a bit more like a realistic snare.

In addition to the compressors, I also used an EQ plugin to reduce the middle frequencies (250-300 Hertz) on both the drum and snare tracks. The kick drum needed this because the frequencies at that point only hindered the sound I wanted to create by making it sound less clear, or muddier, to use a music term. The snare needed it for the same reason: those frequencies only made the snare sound much deeper than it needed to be, and with the reduction in those frequencies, the snare sounded neat and clean, with the strikes being crisp and clear to hear in the mix.

Lastly, the Hi-Hat only needed an EQ to raise the volume of the higher frequencies, at around 5.50 Kilohertz (5050 Hertz). I could have just boosted the volume of the track in general, but that would have raised the volume of every single frequency on that particular track, which would have been detrimental to the overall feel of the hi-hat compared to the other instruments and the rest of the drum kit. This way, I was able to raise the frequency needed, making only the sounds at that frequency louder on the hi-hat track, which kept it from being buried in the mix.

The song, prior to the mixing/mastering stage, sounded like this:

The final song now sounds like this: